
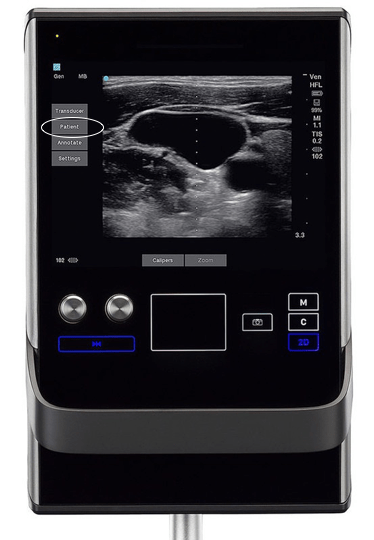
The SII is primarily controlled through a combination of buttons at the base of the screen and touch screen features on the screen itself. Screen features can also be controlled via the trackpad and ‘mouse click’ in the lower part of the screen as highlighted below:

1. Turn on Device

2. Enter patient info

Select the ‘Patient’ menu by tapping the screen. On the subsequent menus select ‘New/End’. Enter the MRN under the ‘ID’ field. Select ‘Done’
3. Select transducer
The machine has two transducers hooked-up at any given time. To move between these select ‘Transducer’ followed by ‘Switch’. in the pop-out dropdown. A third transducer is stored in the drawer of the back tray and can be manually exchanged on the back of the console.
4. Select exam preset
To access the exam preset, select ‘Transducer’ then one of the options from the subsequent drop down.
5. Adjust gain

6. Adjust depth

7. Save clips

To save a short video clip select the ‘camcorder’ icon beside the track pad; the clip is prospectively recordered and the machine will bleep when the clip is saved. To save a still select the ‘camera’ icon.
8. End study
To complete the study select ‘Patient’ and then ‘New/End’
